Introduction
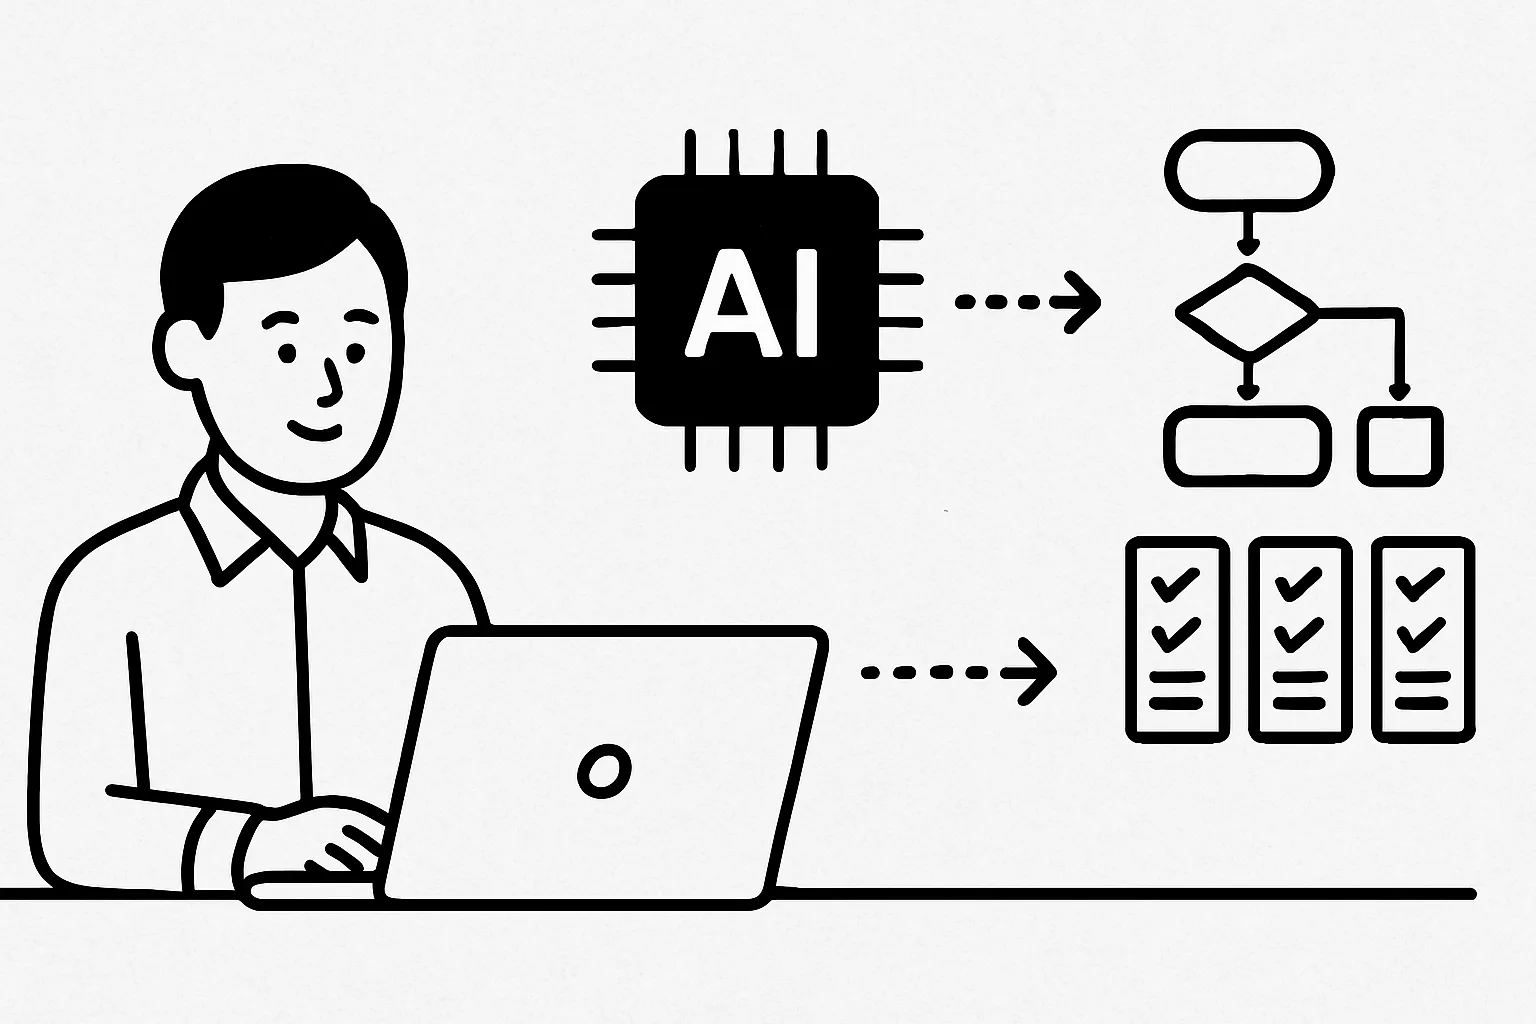
In today's fast-paced world, repetitive tasks can consume a significant amount of time and energy. Fortunately, with the advent of AI tools, we can streamline these processes and focus on more critical aspects of our work. BinoBox, an AI tools platform, offers a variety of functionalities that can help automate tasks across different media types, including chat, image, video, audio, and music. This article will guide you through building simple AI workflows using BinoBox to enhance your productivity.
Understanding BinoBox
BinoBox is designed to simplify the use of AI in everyday tasks. It allows users to manage outputs effectively, providing features such as history tracking, downloading options, and sharing capabilities when enabled. By leveraging these tools, you can create workflows that save time and reduce manual effort.
Identifying Repetitive Tasks
Before diving into building workflows, it's essential to identify which tasks are repetitive and could benefit from automation. Common examples include:
- Responding to frequently asked questions
- Generating reports or summaries
- Editing images or videos
- Creating audio clips or music tracks
Take a moment to list down the tasks you perform regularly that could be automated.
Setting Up Your BinoBox Account
To get started, you need to set up your BinoBox account. Follow these steps:
1. Visit the BinoBox website and sign up for an account.
2. Choose the tools you want to use based on your identified tasks (chat, image, video, etc.).
3. Familiarize yourself with the dashboard and available features.
Creating Your First Workflow
Now that you have your account set up, it’s time to create your first workflow. Here’s a step-by-step guide:
1. Select a Tool: Choose the specific AI tool you want to use (e.g., chat for customer inquiries).
2. Define the Task: Clearly outline what you want the AI to do. For example, automate responses to common questions.
3. Input Data: Provide the necessary data or prompts that the AI will use to generate responses.
4. Test the Workflow: Run a few tests to ensure the AI is responding correctly and making sense.
5. Adjust Settings: Modify any settings related to output management, such as enabling sharing or downloading options.
6. Save and Activate: Once satisfied, save your workflow and activate it for use.
Checklist for Building AI Workflows
- [ ] Identify repetitive tasks
- [ ] Set up your BinoBox account
- [ ] Choose the appropriate AI tools
- [ ] Define clear objectives for each workflow
- [ ] Test and refine your workflows
- [ ] Enable output management features
Practical Example: Automating Customer Support
Let’s consider a practical example of automating customer support using BinoBox’s chat tool:
1. Identify Common Questions: Gather a list of frequently asked questions from your customers.
2. Create Responses: Use BinoBox to generate concise and helpful responses for each question.
3. Set Up the Chat Tool: Input these questions and responses into the BinoBox chat tool.
4. Test the Interaction: Simulate customer inquiries to see how the AI responds.
5. Monitor and Adjust: After launching, monitor the interactions and adjust responses as needed based on customer feedback.
Managing Outputs Effectively
One of the key features of BinoBox is the ability to manage outputs. Here’s how to make the most of it:
- History Tracking: Regularly check the history of interactions to understand common issues or questions.
- Download Options: Download important outputs for record-keeping or further analysis.
- Sharing Features: If enabled, share successful workflows with team members to enhance collaboration.
Conclusion
Building simple AI workflows using BinoBox can significantly reduce the time spent on repetitive tasks, allowing you to focus on more strategic activities. By following the steps outlined in this article, you can create effective workflows tailored to your needs. Start automating today and experience the benefits of increased productivity and efficiency.